

A Step-By-Step Guide On Installing Wall Tiles Like A Pro
Introduction
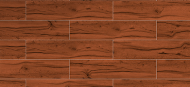
Elevating your home’s aesthetics requires combining your creativity and the beauty of designer tiles, which can work wonders to create a mesmerising wall. The wall tiles are a great way to uplift the design language of any area in your home, as these tiles are very durable and reliable with a touch of elegance. You must feel excited just to install the tiles, but you should first know how to install tiles like a pro.
We have come up with a detailed process for how you can also install tiles to give a sleek and stylish look to your home. In this blog, we cover all the tools and equipment you need for an attractive wall tile installation, the steps of the installation process and creative insights on the most beautiful and premium quality tiles.
Get All These Tools And Equipment
Before starting your creative journey of installing tiles on the wall, you must gather all these tools, equipment, and resources to ensure that all your investment in the process gives you the best result. The first and foremost thing you need is the best quality wall tiles for the dedicated area. The next thing that comes is the tile adhesive, another essential material to ensure the tiles’ durability and longevity.
Other things include a leveller, notch trowel, hand gloves, tile cutter [diamond saw], tile grout, measuring tape, battens, grout float, and sponge. All these materials and equipment will help you lay the tiles perfectly on the wall so your home has an aesthetic upgrade.
Let’s Beautify The Walls
The first thing you need for a perfect wall tile installation is to prepare the wall for tile installation. This means appropriately scraping the wall to remove any layer of dust, mould or any kind of damage that may affect the installed tiles at a later stage.
1. Layout Planning
Firstly, select the tiles you want to fix on your walls to make them beautiful. Use a chalk line and measuring tapes to mark the middle lines for the area where you want to fix the tiles. This will give you an idea by dividing the area into smaller sections.
2. Install A Batten
Install the batten below the first line of the tiles if needed, as most of the home surfaces are not levelled correctly. This batten will help you to keep the tiles straight.
3. Cutting Tiles
Use the diamond saw to cut the tiles according to your requirements, and make sure that you do not cut a whole tile for just a tiny part. After measuring the tile area, cut the tiles to meet the edges and corners of the wall perfectly.
4. Mixing Adhesive
Now that you have all the tiles ready, mix the adhesive according to the instructions given by the adhesive company on the pack. Once mixed up, allow it to rest for a while and mix it again. This will eradicate the lumps in the adhesive.
5. Applying Adhesive
Apply a consistent adhesive layer on the wall where you will fix the tiles. Use a notch trowel to spread the adhesive evenly on the wall so that the tile sticks perfectly to it.
6. Placing The Tiles
Now comes the precision task of placing the tiles on the walls. Ensure that pressure is evenly applied to the tiles to fix the wall so that the adhesive sticks to it appropriately. Place the tile spacers between tiles as you go up.
7. Grout Mixing
Once the tiles have been placed, let the tile adhesive set, and for the time being, you can mix up the grout according to the manufacturer’s instructions.
8. Spread The Grout
Use a grout float to spread the grout over the tiles to fill the gaps. Use an appropriate grout to fill the tile gaps and ensure every tile gap is adequately sealed.
9. Clean The Grout
Now, use a sponge to clean the excess grout off the tiles, leaving you with clean and precisely placed tiles with gaps filled using grout. Let the grout cure according to the time stated by the grout manufacturer.
10. Apply The Sealant
Once the grout has cured, apply a grout sealant, which will prevent mould from growing in the gaps and increase the durability of the grout for an extended period of time.
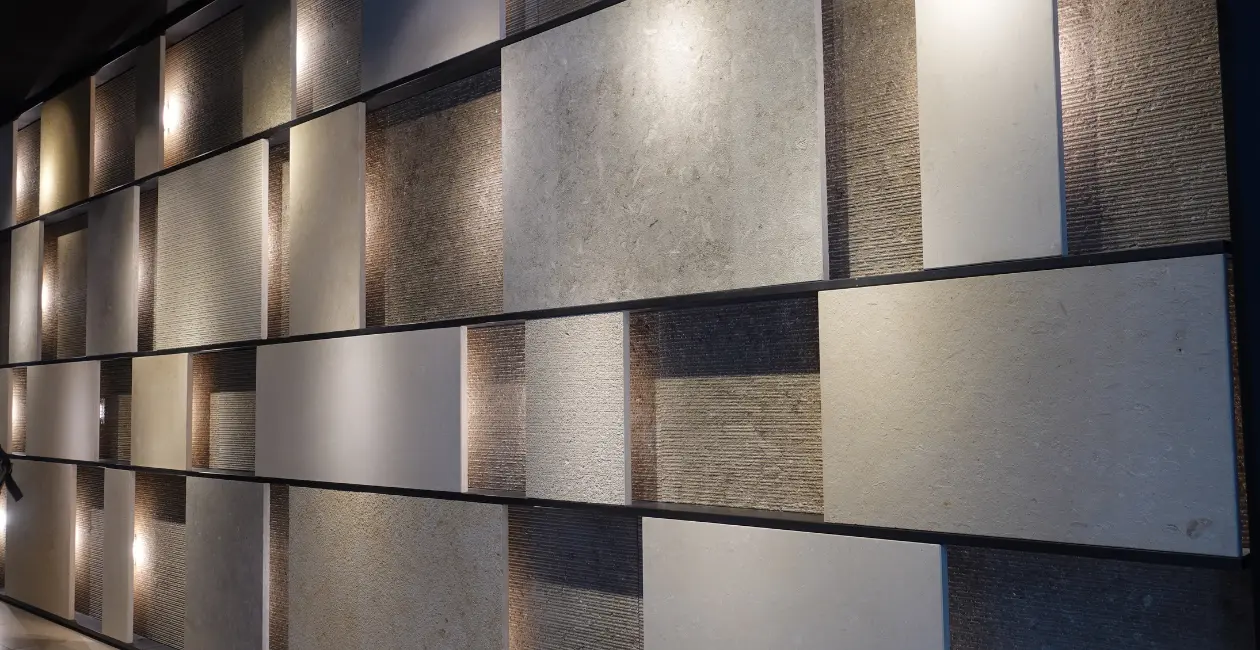
Some Mesmerising Wall Tiles
Now that you have come so far in understanding how to install all tiles perfectly, let us give you an insight into one of the most beautiful wall tiles that will give your walls a completely new look.
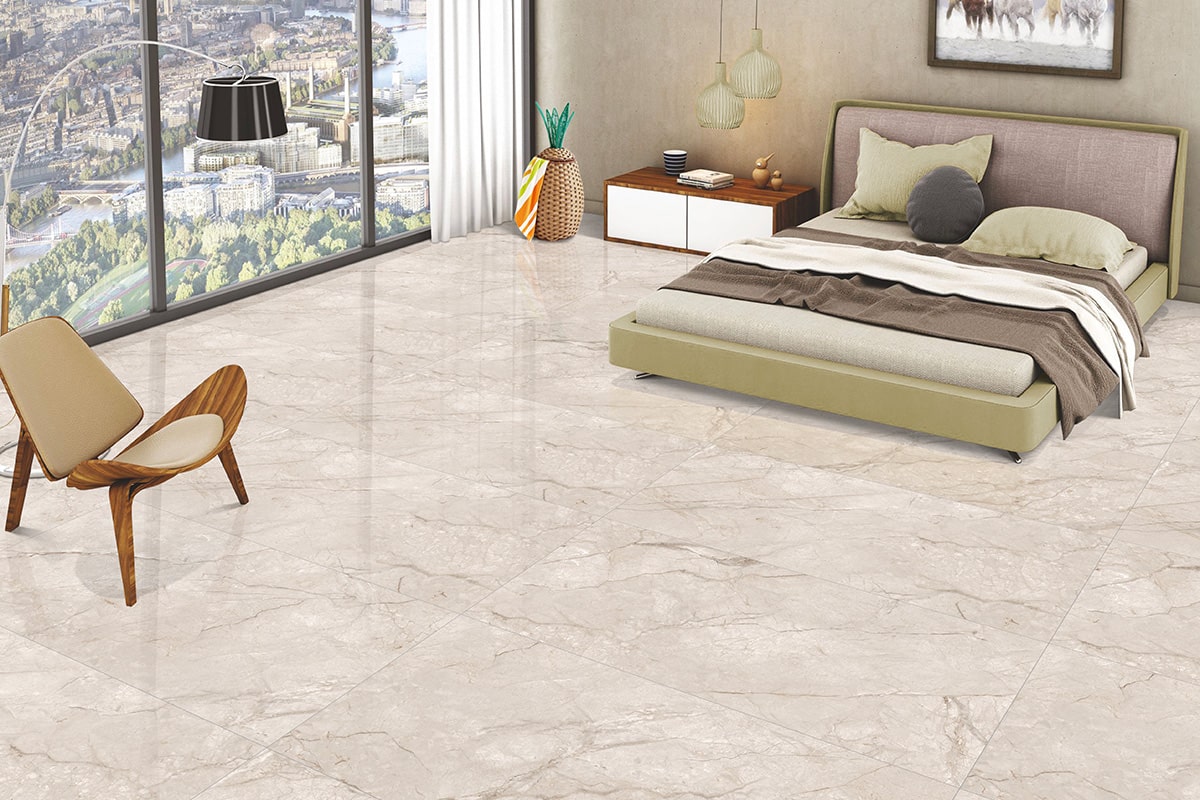
1. Statuario Pulido
Our Statuario Pulido tiles define sleek beauty as the white colours give an essence of royalty, and the grey strokes add character to the tiles. These tiles are an excellent pick for someone with minimal design but simplistic sophistication.
2. Sienna Pearl
The Sienna Pearl tiles give that royal look and aesthetic depth to your walls with their dark tones and a subtle play of texture with some grey patches that add a lovely character to these tiles.
3. Crystal White
Our Crystal White tiles will be perfect for white enthusiasts to give the walls a clean and sleek look. These polished tiles are a great way to style up your bathroom and kitchen walls and give your house a timeless touch of elegance.
4. SNP Grey
If you want a dull colour to style your walls, the SNP Grey tiles do just the work. The grey colour of the tiles with minute white and black dots grabs the attention and gives a smooth look to the space. These tiles come in polished and matt finish.
Conclusion
Being patient during the whole process will get you through it, and you can look proudly at the beautiful wall you just made more elegant by installing tiles. Remember, all the pointers we gave you above are for creative novices and experienced DIYers. After understanding the process, you must be confident about installing wall tiles in your home. Now that you know how to install them, the most essential part is selecting the best tiles for walls.
As we suggested some sleek and elegant tiles to give your wall a statement look, Spenza has a versatile collection of magnificent easel tiles that will take your breath away. Our tiles tell a tale of timeless beauty and aesthetic pleasure that catches everyone’s attention. Contact us now and get yourself the best quality tiles that will add that required touch of texture, beauty and awe-inspiring design.

Explore our full range of Tiles
Find the perfect tiles for your area with our huge range of styles, colours, and finishes, No matter you are looking tiles for kitchen, bathroom, parking, exterior or interior spaces, we have it all.
Shop NowMore Related Blogs
Discover a plethora of topics ranging from tile selection installation techniques to innovative design trends. Our ‘Related Blog Section’ is your gateway to valuable insights that will elevate your tiling projects to new heights.


Confused? Click to download our new product catalogue!
Events